How to Edit Photos Faster: 7 Fixes Worth Automating (2026)
Seven repetitive fixes worth handing to software, what your editor already does, and the decisions to keep by hand, so you edit faster without losing your look.
Munib Ali Laghari
Founder & Lead Developer
Quick answer
How can photographers edit photos faster?
Automate the fixes you’d make the same way on every frame: lens and horizon corrections, noise cleanup, mild blur rescue, color consistency, crops, enlarging, and export. Keep final selects, your creative look, and retouching of people by hand. Many editors already automate some of these, and EnhanceCraft covers the rest from JPG, PNG, or WebP exports.
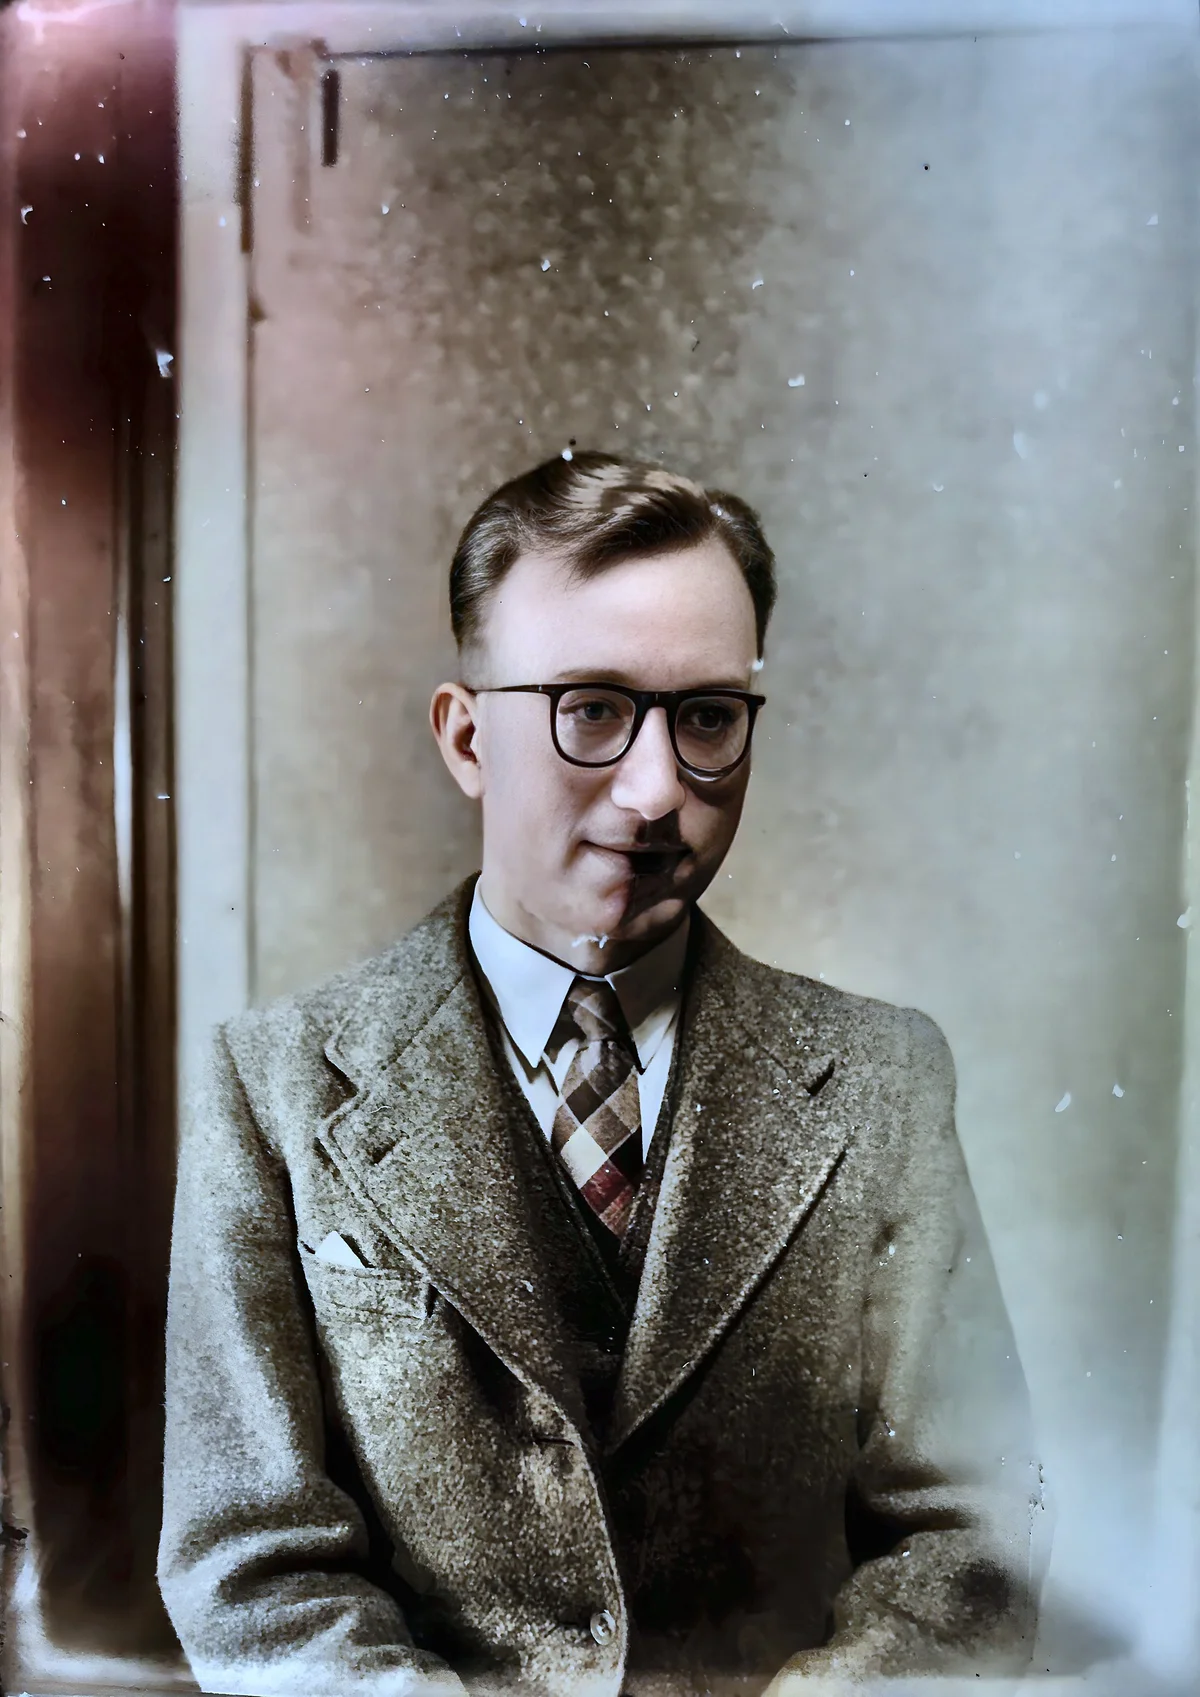
Before

After

More examples like this: browse before & after results across every tool.
You get home from a shoot with four hundred frames. Choosing the keepers is the fun part. The slow part is everything after it: the same noise cleanup, the same white balance nudge, the same crop, the same export, repeated until your eyes glaze over.
Say one of those fixes takes twenty seconds by hand. On a 400-frame gallery, that single fix eats more than two hours. Stack five of them and you've lost an evening to work that needed no taste at all. That's the work worth handing to software. The rest, the choosing and the look, is why clients hired you in the first place.
You won't be the first to try it. VSCO's survey of 401 photographers, fielded in December 2025 in the US and Canada, found that 88% of working photographers and 76% of enthusiasts use AI, and that 68% of working photographers use it weekly or daily. VSCO ran the survey, so treat it as a signpost and not a census. Its write-up says photographers use AI "primarily for workflow automation and tasks like culling, editing, file management."
One disclosure before we start: I build EnhanceCraft, so some fixes below name our tools. I've also named what Lightroom Classic and other tools already do, because for several of these you don't need anything new. And where we fall short, you'll see that too, starting here: we work from JPG, PNG, and WebP files, not RAW and not TIFF.
The Short Answer: Automate the Corrections, Keep the Decisions
Automate any fix you'd make the same way on every frame and can judge at a glance: lens and horizon corrections, noise cleanup, mild blur rescue, color consistency, crops, enlarging, and export. Keep final selects, your creative look, and retouching of people by hand. Many editors already automate some of these, so check yours before adding another tool.
| Fix | Already in your editor? | Other options | EnhanceCraft (credits per image) |
|---|---|---|---|
| 1. Lens and horizon | Lightroom Classic: profile corrections, Upright | n/a | Perspective correction, 1 |
| 2. Noise | Lightroom Classic: Denoise | Topaz Photo: Denoise | Denoise, 1 |
| 3. Mild blur | Sharpening sliders | Topaz Photo: Sharpen, Super Focus | Deblur, 2 |
| 4. Color consistency | Presets, applied at import | n/a | Color grading, 1 |
| 5. Crops | The crop tool | n/a | Smart crop, 1 |
| 6. Enlarging | Lightroom Classic: Super Resolution | Topaz Photo: Upscale | Upscale 2x or 4x, 1 or 2 |
| 7. Export | Export presets | n/a | Convert, resize, compress, 0 |
A Three-Question Test for What to Automate
Before you hand a fix to software, ask three questions. Would I make the same correction on every frame of this kind? Can I tell at a glance, at 100% zoom, whether it worked? Is a miss cheap, meaning easy to undo or re-run? If all three answers are yes, automate it. If any answer is no, keep it by hand, or at least review every result.
Lens correction passes all three. Skin retouching fails the first two, because every face needs a different touch and a wrong call is hard to spot. Culling is a split decision: weeding out the obvious blinks passes, but choosing the final selects doesn't. The seven fixes below all pass.
The 7 Fixes Worth Automating
1. Lens and horizon corrections
Lens distortion and a tilted horizon are the most automatable fixes in photography, because they're geometry and not taste. Your editor probably handles them already. In Lightroom Classic, the Lens Corrections panel has an Enable Profile Corrections option that matches a profile from the camera and lens data stored in the file, and Adobe's guidance is to apply it before Upright, its automatic perspective correction, because the profile gives Upright cleaner geometry to analyze. If your editor lets you pick a develop preset at import, save one with these switched on so every frame arrives corrected.
Look elsewhere when you're working from exported JPEGs whose verticals still lean, which is common with architecture and interiors. Our perspective correction tool straightens them for 1 credit, and our guide to fixing perspective distortion explains the method. Do geometry before any other edit, because it resamples the pixels.
2. Noise from high-ISO frames
Noise cleanup is safe to automate across a whole set, because the problem is the same in every frame: grain that grows with ISO. Lightroom Classic includes an AI Denoise in its Detail panel, alongside Raw Details and Super Resolution, and Topaz Photo lists Denoise too.
If you're cleaning a batch of exported JPEGs, or your laptop struggles with heavy processing, our AI denoiser costs 1 credit per image. Wherever you do it, check skin and fine texture at 100%. Over-cleaned noise leaves a waxy look, and it should happen before you enlarge or sharpen. Our denoising guide covers how to keep detail.
3. Mild blur and missed focus
Automate blur rescue only for frames that are slightly soft, and decide at the cull which frames deserve it. Sharpening sliders raise edge contrast, but they can't rebuild detail that was never captured. Deblur tools such as Topaz Photo's Sharpen and Super Focus, or our AI deblur at 2 credits per image, try to reverse the blur itself.
They work best on moderate blur. A badly smeared frame is a reject, not a rescue. So don't run deblur across a whole gallery. Run it on the handful of keepers that matter, like the first kiss or the winning goal. Our deblurring guide shows how to tell motion blur from missed focus.
4. Color and white balance consistency
A set where every frame has a different white balance reads as sloppy even when each frame is fine on its own, which makes consistency the fix clients notice most and credit least. The editor route is a preset applied at import. It works well when the light is steady and falls apart when it isn't, like a venue with windows on one side and warm bulbs on the other.
For mixed light, match to a reference instead. Pick the frame that has the look you want and bring the rest of the set toward it. Our color grading tool does exactly that for 1 credit per image, with a strength slider (low settings of 0.3 to 0.5 give a subtle unify) and a bulk mode for whole sets. It matches tone to the reference. It can't know what color the dress really was, so check skin and anything the client cares about. Our batch color grading guide shows how to choose the reference.
5. Crops and aspect ratios
Cropping to the same few ratios for every deliverable is repetitive, but only the first pass is worth automating, not the final framing. Smart crop finds the main subject and frames it for 1 credit, which gives you a consistent starting point across a set. Then adjust the few frames that need it. Portraits with several people, or shots built around negative space, deserve a human look. Our smart crop guide covers when to trust it.
6. Enlarging crops and print files
Enlarge last, after noise and blur, and only as far as the print or the crop needs. Lightroom Classic offers Super Resolution, Topaz Photo lists Upscale, and our AI upscaler does 2x for 1 credit and 4x for 2, with 8x available on paid plans. Upscaling adds pixels. It doesn't add truth, so look closely at hair, fabric, and faces afterward.
How far to go depends on the output. Our guide to choosing 2x, 4x, or 8x and the one on upscaling for print both start from the size you need and work backward.
7. Export variants and file prep
Export is the most automatable step of all, because it's pure configuration. Lightroom Classic's export presets save your file format, color space, image size, and renaming rule, and it can add output sharpening for screen, matte paper, or glossy paper. Make one preset for each destination, such as the web gallery, the client download, and the print lab, then run them instead of rebuilding settings every time.
If you need to convert a batch afterward, say AI-enhanced files into WebP for a site, our image converter costs 0 credits, and so do resizing and compressing. Our guide to image formats helps you pick one.
Two Bigger Wins Than Any Single Fix (and Neither Is Ours)
For high-volume shooters, culling and a starter edit are where the biggest time sinks tend to be, and we do neither. Here's what the specialists say they do.
Culling. Aftershoot says it checks each image against 30+ factors, including sharpness, exposure, blinks, and duplicates, groups near-identical frames, and keeps at least one from each group. It has an assisted mode where the software scores and groups but you make the picks, and ratings and flags carry over to Lightroom Classic and Capture One.
A starter edit. The simple version is built into your editor. Lightroom Classic's import dialog can apply a develop preset, a metadata preset, and keywords as photos come in, so copyright and a baseline look are done before you open the first frame. The advanced version learns your style. Imagen trains on edits in your Lightroom catalog, and its help center says a Personal AI Profile needs 2,000 edited photos, though some of its marketing pages say 3,000, so check the current requirement. It also says exported JPEGs don't work, because their edit settings read as zero. If you don't have a big edited catalog yet, presets at import are the sensible place to start.
What to Keep by Hand
Automation covers the repeatable corrections. These stay yours:
- ●Final selects. Even assisted culling leaves the picking to you, and that's the right division of labor.
- ●Your creative look. Automate the consistency, not the taste. A set can match perfectly and still be wrong for the client.
- ●Retouching people. Faces and skin need judgment, and a result that looks too smooth is easy to ship by accident. Our piece on why AI photos look too perfect lists the tells.
- ●Hero frames. Run the batch for the set, then hand-finish the images that go on the website and the wall.
- ●Anything color-critical. If a client will hold the image next to a real object, check it by eye.
Run the Fixes in Order Across the Whole Gallery
Run the fixes in a fixed order so each one works on the last one's output: geometry, noise, blur, color, crop, enlarge, export. Geometry goes first because it resamples pixels. Noise goes before enlarging and sharpening because both amplify grain. Export goes last so compression happens once.
In EnhanceCraft, bulk mode runs one tool at a time across a whole set. You pick the tool, set its options once, and every image gets identical settings, with the results returned as a single archive. A job takes 25, 100, or 500 images on Starter, Pro, and Business plans, and free accounts process one image at a time. A full chain is therefore a short series of jobs, each one feeding the next. If you'd rather not do that by hand, the API takes a list of operations in a single request on Pro plans and above, so a script can run the whole chain on a folder after you export. Our photographer workflow page shows the full set of tools.
- 1.Export from your editor first. Save high-quality JPEGs. We don't take RAW or TIFF, and the AI can only work with the detail the file carries.
- 2.Test one hard frame. Pick your noisiest, softest, or most mixed-light image, run it through the fixes it needs, and look at it at 100%.
- 3.Run each fix as a batch, then spot-check. Open five frames at full size: the first, the last, the darkest, one with a face, and one with fine texture.
The same logic works outside photography galleries. Our post on the standard real estate edit applies it to property shoots.
Before You Upload Client Work
Before you upload client photos to any online tool, ours included, check how long it keeps files, who can access them, and whether your client contract allows third-party processing. Do that once, write down the answer, and you won't have to think about it on deadline.
Frequently Asked Questions
What photo editing tasks can be automated? The repeatable corrections: lens and horizon fixes, noise cleanup, rescuing mildly soft frames, color and white balance consistency, first-pass crops, enlarging, and export. Culling and a starter edit can also be automated. Final selects, your creative look, and retouching of people are best kept by hand.
How can I edit photos faster without lowering quality? Cull before you edit, apply a starter preset at import, and automate the corrections that are identical on every frame. Then spot-check a handful of images at 100% instead of inspecting all of them. Quality drops when you automate decisions, not when you automate repetition.
What should I automate first? Start with the two biggest time sinks: culling and a starter preset applied at import. Then add the corrections your editor doesn't cover. Time one gallery before and after each change so you can see what's actually saving you hours.
Can these tools process RAW files? It depends on the tool. Lightroom Classic works on RAW files directly, and tools like Imagen and Aftershoot integrate with Lightroom. EnhanceCraft takes JPG, PNG, and WebP files only, so export from your editor first and use it for the finishing fixes.
How much time does automation really save? There's no reliable independent figure. The big percentages you'll see come from the companies selling the tools. The honest way to find out is to time one gallery by hand, time a comparable one with automation, and compare.
Is it safe to upload client photos to an online editor? It depends on the service and your contract. Check how long uploads are kept, who can access them, and whether your agreement with the client allows third-party processing. Ask before you upload, not after.
The Bottom Line
You can edit photos faster by automating the repetition and protecting the decisions. Lens and horizon fixes, noise, mild blur, color consistency, crops, enlarging, and export all pass the three-question test. Culling, your look, and retouching people stay with you.
If your gallery needs the finishing fixes, try the free color grading tool or the rest of the photographer workflow, with 25 credits to start, then 10 every month, no card required. The wider AI image toolkit covers the rest.
Found this helpful?
Share it with your network
Ready to try it yourself?
25 free credits to start, then 10 every month. No credit card. Process your first image in under 15 seconds.
Try Color Grading freeMunib Ali Laghari
Founder & Lead Developer · EnhanceCraft
Munib Ali Laghari is the founder and lead developer of EnhanceCraft, an AI image toolkit. He writes about AI upscaling, photo restoration, and background removal. Connect on LinkedIn