How to Improve Product Photos: 7 Fixes That Work in 2026
Seven fixes for the product photos you already have, in the order to do them, plus an honest look at what software can repair and what needs a reshoot.
Munib Ali Laghari
Founder & Lead Developer
Quick answer
How do you improve product photos?
Fix them in this order: sharpen the photo, remove the background, correct the light, match color across your catalog, add a soft shadow, then crop every image the same way. All six work on photos you already have, and EnhanceCraft’s product photo editor runs the cleanup steps in one pass. More angles are the only fix needing a camera.
Before
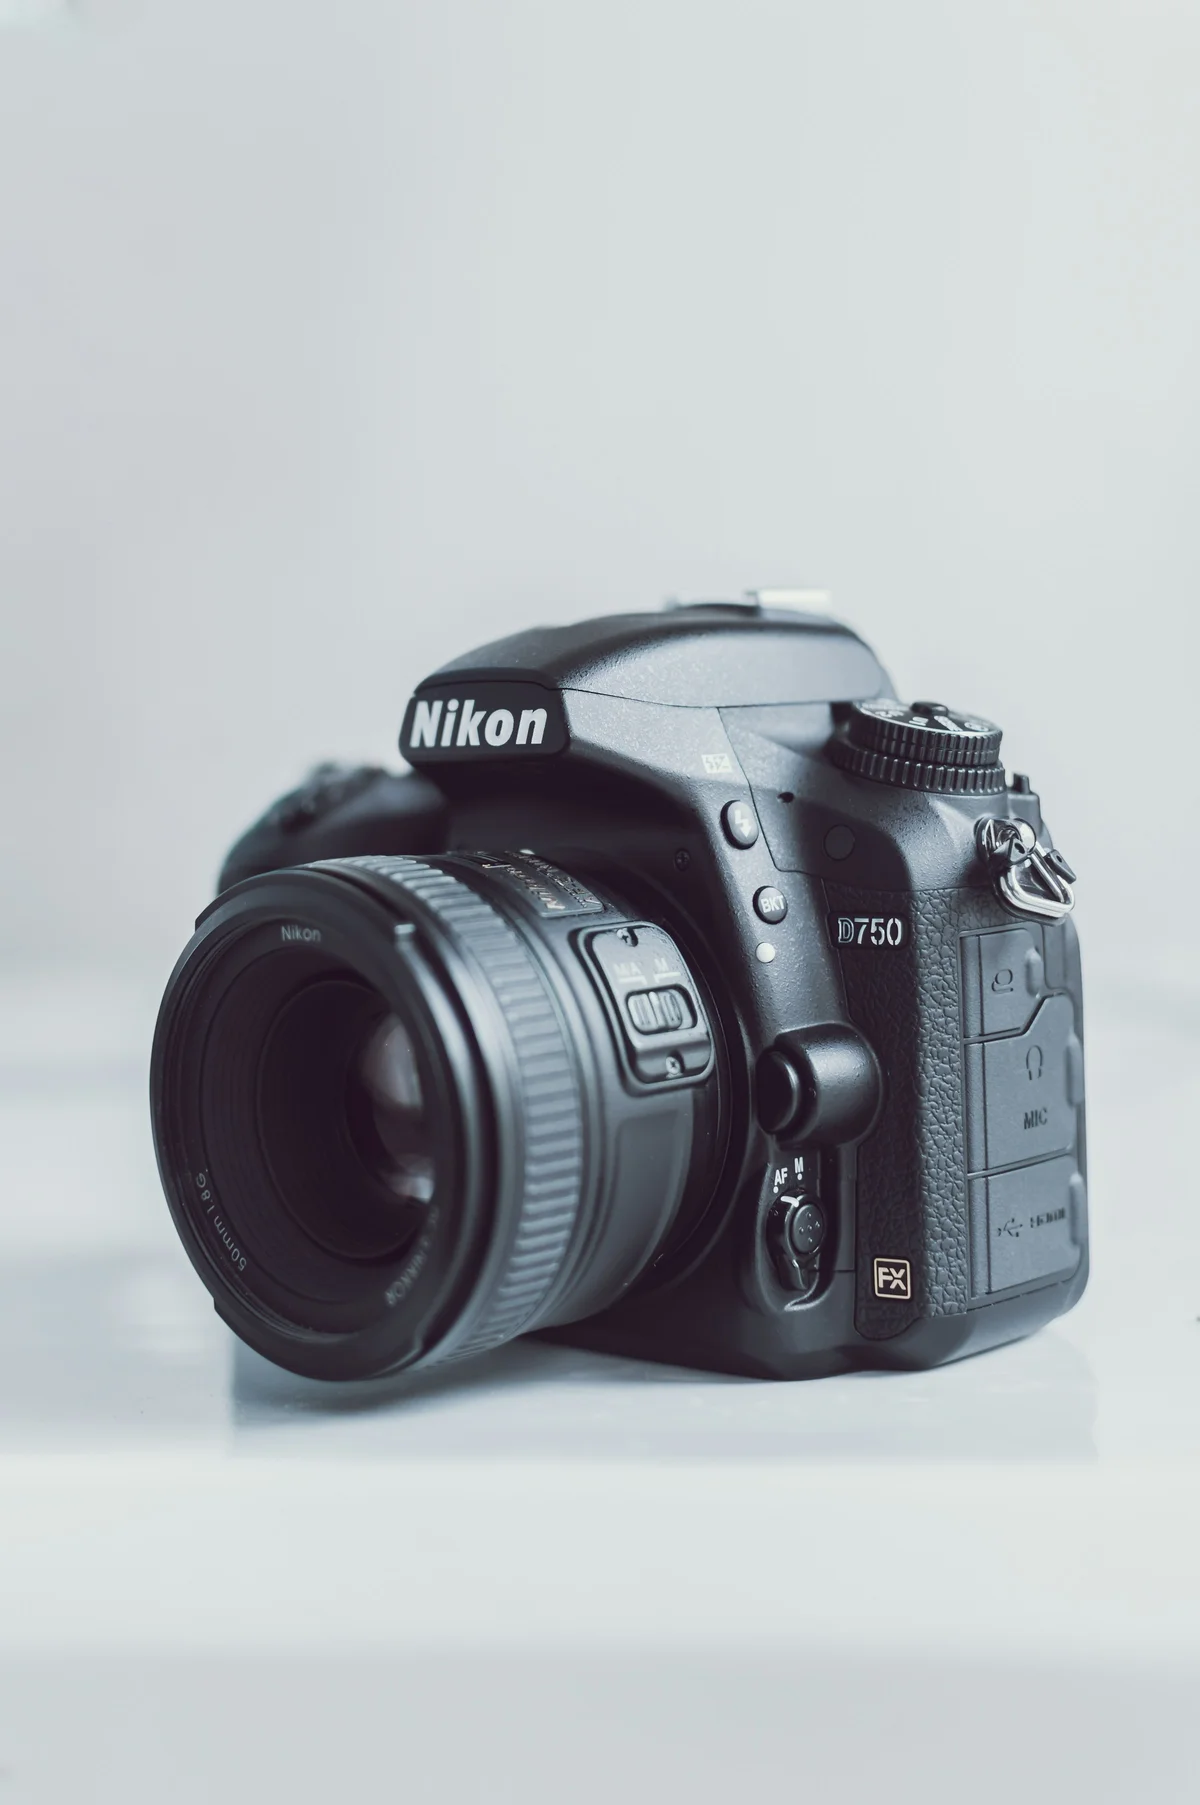
After
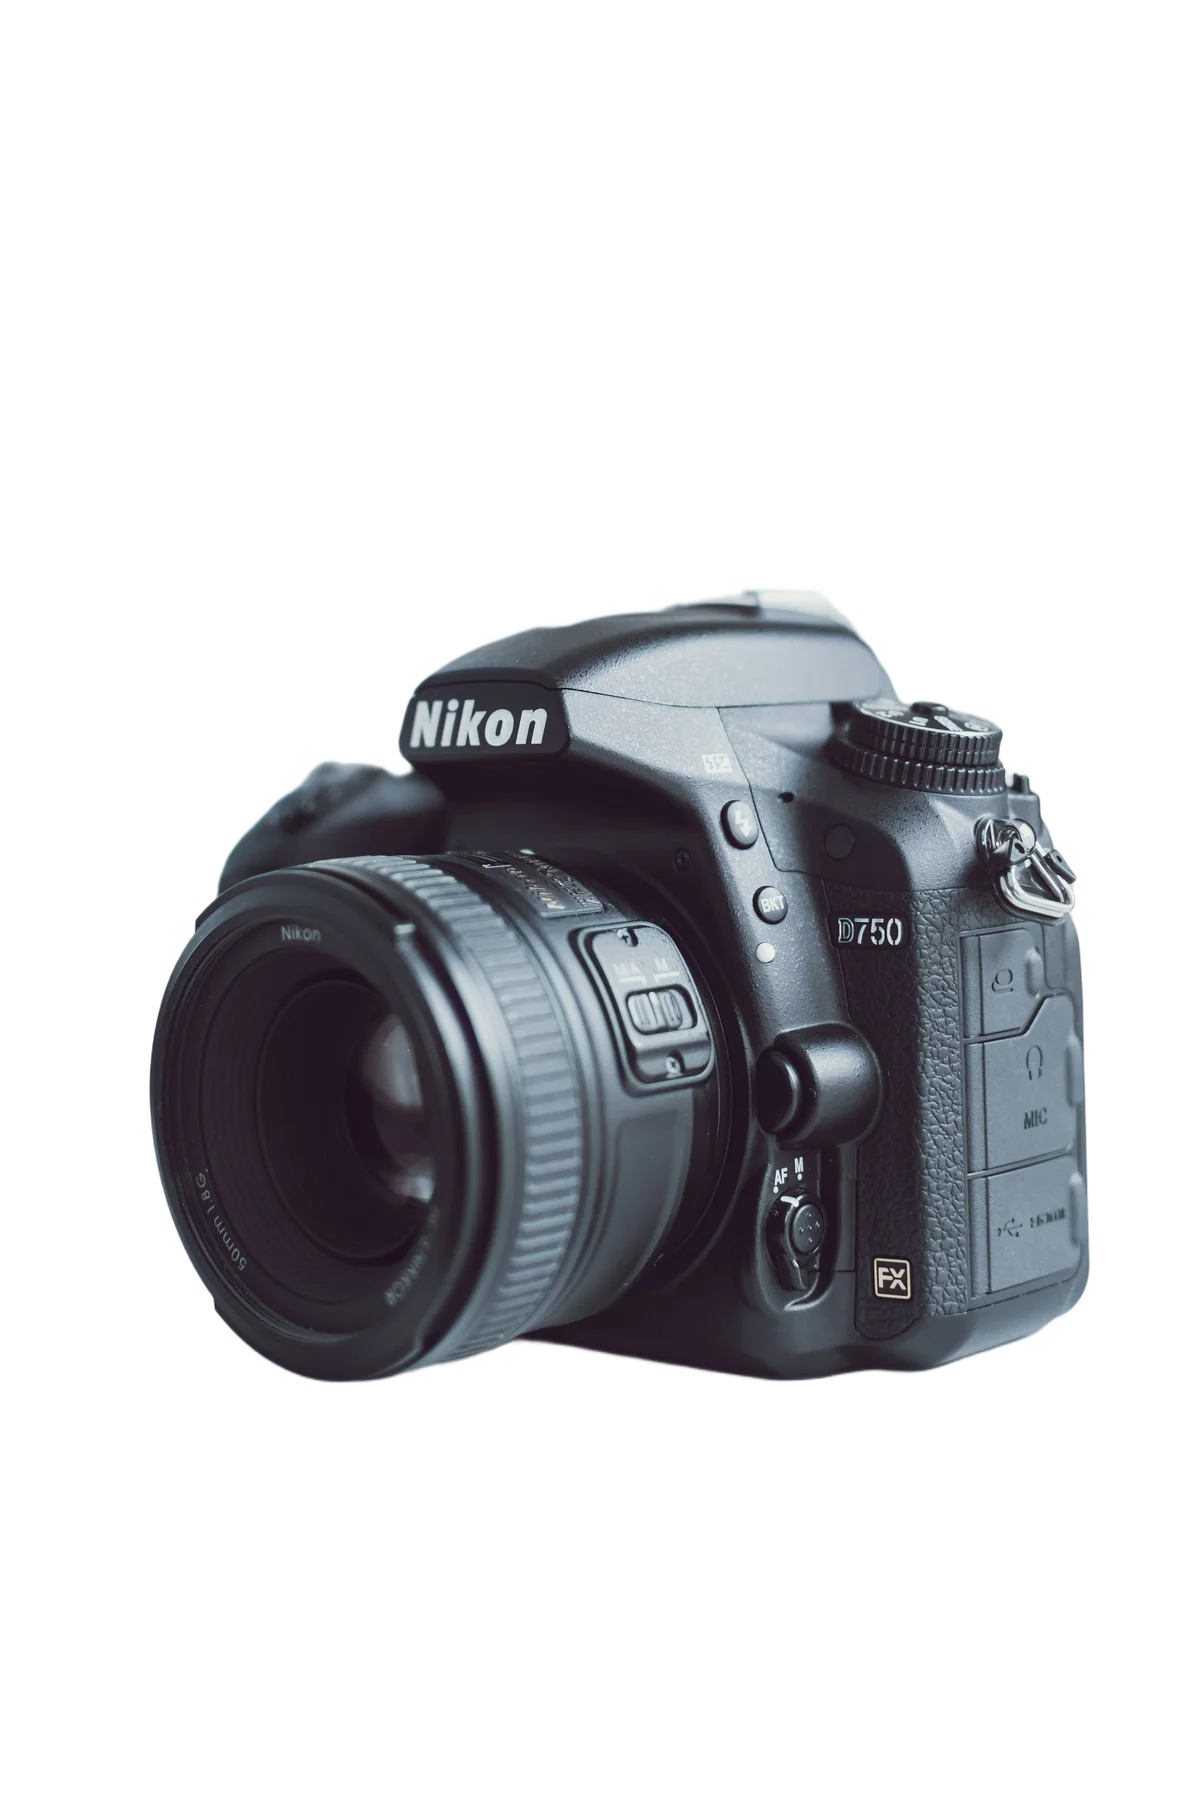
More examples like this: browse before & after results across every tool.
Your product photo isn't bad, exactly. It just isn't doing its job. The product looks a little flat, the background is a little busy, and next to the listing above yours it seems to come from a cheaper store. You can feel the problem without being able to name it, and most of the advice out there tells you to buy a softbox and reshoot.
Often that isn't an option. The photos came from a supplier, or you took them on a phone last spring, or there are four hundred of them. So this guide works the other way around. It starts with the photo you already have, helps you name what's wrong with it, and gives you the fix, including the cases where the real fix is a camera and no software will do.
One disclosure: I build EnhanceCraft, so the editing steps below use our tools, and I've listed costs in credits so you can see what each one takes. Every fix works in any editor you like. I've said where the shortcuts are and where they stop.
The Short Answer: Seven Fixes, in the Order to Do Them
Fix a product photo in this order: make it sharp and large enough, remove the background, correct the light, match the color across your catalog, add a soft shadow, then crop and export every image the same way. Each step works on the result of the one before it. The seventh fix, showing more angles, is the only one that needs a camera.
| What you notice | What's going on | The fix | Can software do it? |
|---|---|---|---|
| Soft, grainy, or pixelated when you zoom | Not enough real detail | 1. Sharpen and enlarge | Mostly |
| Busy or uneven backdrop | The background competes with the product | 2. Cut out and replace it | Yes |
| Flat, dull, or lit from the wrong side | The light has no direction | 3. Relight | Mostly |
| Colors differ between photos, or from the real item | Mixed lighting and white balance | 4. Match to a reference | Mostly, then check it by eye |
| The product seems to float | No contact shadow | 5. Add a soft shadow | Yes |
| Sizes, margins, and file types all differ | No standard | 6. Crop and export one way | Yes |
| Only one view of the product | Not enough information | 7. Add angles | No, that takes a camera |
How to Tell What's Wrong With Your Photo
Shrink your photo to thumbnail size and notice what you see first. Whatever jumps out is the problem to fix first. Open your own collection page, put your photo beside the best one in your category, and look at both at about the size of a postage stamp. It takes thirty seconds.
That's a rule of thumb, not a study, but it matches how people actually meet your photo: small, in a grid, in a hurry. If the first thing you notice is a fuzzy edge, start at fix 1. If the product looks like it's hovering, jump to fix 5. Most photos have two or three problems, not seven.
It's worth the effort, because shoppers do look. Baymard Institute found in its testing that 56% of users' first action on a product page was to explore the product images, and that low-quality or unzoomable images caused abandonments.
The 7 Fixes
1. Make it sharp and big enough
A product photo needs enough real pixels that a shopper can zoom in and still see the stitching, the grain, or the label. If yours goes soft when you zoom, fix that first, because every other edit assumes the detail is there.
Baymard's 2020 benchmark found that 25% of the e-commerce sites it assessed showed images that weren't good enough to evaluate a product, with low resolution affecting 14% of sites and inadequate zoom 11%. That's a six-year-old snapshot, so don't quote the percentages as today's number. The behavior behind them is easy to recognize from your own shopping.
For a hard floor, Google's Merchant Center image requirements ask for at least 500 × 500 pixels and recommend images around 1500 × 1500 or larger. Treat 500 as the minimum and 1500 as the target.
Three different problems look alike here, and each has its own fix. Too few pixels means upscale it (1 credit for 2x, 2 for 4x). Blur from a shaky hand or a missed focus means deblur it (2 credits). Grain from a dim room means denoise it (1 credit). If a photo is both small and grainy, clean it first and enlarge it second, so you don't enlarge the noise. Our guides to choosing 2x, 4x or 8x and fixing a blurry photo go deeper.
Where it falls short: upscaling can rebuild believable detail from what's in the photo, but it can't read what was never legible. After you upscale, zoom into any printed text on the packaging. If it was unreadable before, it still is, and that product needs a reshoot. Deblurring also works best on moderate blur. A badly smeared photo is a retake.
If you're reshooting anyway, a steady phone is the cheapest sharpness upgrade there is. Rest it on a stack of books, or use a cheap tripod.
2. Clean up the background
The background should never be the most interesting thing in the photo. Cut the product out and put it on a plain, consistent backdrop. For most stores that means white, and for some it means transparent.
Which one depends on where you sell. A marketplace main image often wants pure white, and your own store can handle a transparent file. Etsy doesn't support WebP, and transparent areas on an Etsy upload turn black, which is why one file for every channel doesn't work. Our Shopify and Etsy playbook covers what each platform accepts.
A background remover does the cut-out for 1 credit. Where it struggles is predictable: glass, fine fur or lace edges, and products that are the same color as whatever is behind them. Zoom to 100% around the edges, then drop the cut-out onto a dark background for a second. Any leftover halo shows up immediately. The background removal guide has more on tricky edges.
If you're reshooting, a sheet of plain paper behind the product makes the cut-out cleaner for any tool, ours or anyone's.
3. Correct the light
Flat light makes a product look like a sticker. Light from one side makes it look like an object you could pick up. Sliders can make a flat photo brighter, but they can't give it direction, which is why "just add contrast" never works.
AI relighting rebuilds the direction of the light from a single photo and leaves the product itself alone. You choose a style: soft diffused is the safe default for a catalog, and a backlit look suits bottles and cosmetics. It costs 3 credits per image. If you're putting a product into a new scene, remove the background first and relight the cut-out. The relighting guide explains why sliders fail and how the styles differ.
Where it falls short: relighting preserves a product's structure but doesn't repair it, so a soft photo comes back relit and still soft. That's why sharpness is fix 1. And if a highlight is clipped to pure white, there's nothing underneath to bring back.
If you're reshooting, soft window light from one side, with a white card on the other side to bounce light into the shadows, gets you most of the way without buying anything.
4. Match the color, to each other and to the real thing
Color is two separate problems: do your photos look like they belong to the same store, and does each one look like the real product? Software handles the first well. Only you can check the second.
For consistency, pick one photo whose tone you like and match the rest to it. Color grading does this against a reference image for 1 credit per image, with a strength slider (a low setting of 0.3 to 0.5 is a subtle unify, higher is a full match) and a bulk mode for 25 to 500 images. The batch color grading guide shows how to choose the reference.
Matching to a reference makes your photos agree with each other. It can't know what color the real product is. Hold one finished image next to the actual item in daylight, on your phone and on a laptop. If it's off, fix the reference and re-run the batch. A wrong color is the kind of problem that comes back as a return, so the two minutes are worth it.
5. Give the product something to stand on
A cut-out with no shadow floats. A soft contact shadow where the product meets the surface, and sometimes a faint reflection, tells the eye it's sitting on something real.
The product shadow generator adds both. You pick a surface (glass, matte, or wood) and set the shadow's opacity, softness, and length. A short, soft, semi-opaque shadow reads as real, while a long dark one reads as a gray blob. It costs 2 credits on a cut-out you already have, or 3 if it removes the background in the same step. The shadows and reflections guide has settings by product type.
Two checks. If you relit the product with strong light from one side, make sure the shadow doesn't contradict it. A soft, short shadow is the safe choice because it doesn't point anywhere in particular. And look up your marketplace's main-image rules before adding a shadow to a listing's lead photo.
6. Crop, size, and export every image the same way
A catalog looks professional when the images agree: the same shape, the same margin around the product, the same file type. Pick one aspect ratio, leave the same breathing room around every product, and export big enough to zoom.
Smart crop finds the product and centers it for 1 credit, which gives you a consistent margin without eyeballing every image. For size, aim for the 1500-pixel target above. Google's guidelines accept JPEG and WebP (both recommended), PNG, GIF, BMP, and TIFF, and cap files at 16 MB. Converting, resizing, and compressing are all 0-credit tools, and the image converter handles the format side. Heavy files slow a page down, so our guide to choosing between WebP, AVIF, JPG and PNG and the image optimization guide are worth a look.
Keep the photo itself clean, too. The same Merchant Center guidelines list watermarks, promotional overlays (sale badges, prices, calls to action), and borders among the things to avoid in product images. Put the "SALE" banner on the page, not in the photo.
7. Show enough angles to answer a shopper's questions
No edit can add a view you never shot. The last fix is a gallery: a clean main image, plus close-ups of texture and detail, something that shows scale, and the product in use.
Baymard, which studies how real shoppers use online stores, recommends several image types beyond the hero shot, including size and proportion, extreme close-ups of texture, lifestyle and usage shots, and customer photos. Those types exist because shoppers who can't judge size or texture from the photos are left guessing.
Software helps in two ways. A sharp, high-resolution original gives you detail close-ups for free, because you can crop into it. And for clothing, one photo on a mannequin can become a clean ghost mannequin image (4 to 5 credits), so you aren't paying for a model shoot just to get a hero image. Our guide to ghost mannequin, flat lay and on-model helps you choose.
Where it falls short: generating a scene or a model that never existed is a different job from fixing a photo, and some marketplaces have their own rules about it. Our cost breakdown covers where that line sits. If you're reshooting, five phone photos in one session beat one perfect one: front, back, side, a close-up of detail, and one in hand for scale.
Where Editing Stops
Editing can fix how a photo captured your product. It can't fix the product, and it shouldn't try. A few things always need a human and a camera:
- ●Marks on the real item. Dust, wrinkles, dents, and fingerprints show up in every photo, so clean or steam the product before you shoot.
- ●Missing views. A back, a side, or a label you never photographed can't be recovered.
- ●Unreadable text. Small print that was never legible in the original stays that way.
- ●Clipped highlights. Pure white areas hold no detail to rescue.
- ●Anything that changes the product itself. Making a color richer or a finish shinier than reality gets you returns and bad reviews, and can break marketplace policy.
That last one is the principle we built EnhanceCraft around: enhance what the camera captured, and don't invent a different product.
What the Fixes Cost
Each editing fix costs 0 to 3 credits per image. Using every one of them on a single photo comes to roughly a dozen credits, and most photos need only two or three.
| Fix | Tool | Credits per image |
|---|---|---|
| 1. Sharpen and enlarge | Upscale (2x / 4x) | 1 / 2 |
| 1. Sharpen and enlarge | Denoise | 1 |
| 1. Sharpen and enlarge | Deblur | 2 |
| 2. Background | Background removal | 1 |
| 3. Light | Relight | 3 |
| 4. Color | Color grading | 1 |
| 5. Shadow | Shadow and reflection | 2 (3 with background removal) |
| 6. Crop and export | Smart crop | 1 |
| 6. Crop and export | Convert, resize, compress | 0 |
| 7. Angles | Ghost mannequin (apparel) | 4 to 5 |
A free account includes 25 credits to start, then 10 every month, with no card required.
Run the Core Fixes in One Pass
If your photos need fixes 1, 2 and 6, you don't have to do them one at a time. The product photo editor bundles the upscale, cleanup, background, and crop into one preset per destination: Amazon (a white square, 5 credits), Shopify and WooCommerce (a transparent WebP, 4 credits), and Etsy (a flattened JPG with extra margin, 5 credits).
- 1.Test one photo first. Pick your most awkward product, run it, and check the edges and color before you commit the rest.
- 2.Choose the preset for where you sell. The file type is set for you, so you don't end up with a transparent file on a platform that turns it black.
- 3.Run the batch. Bulk mode takes 25 to 500 images per job, depending on your plan, and applies the same settings to every one.
Our batch processing guide covers the details, and the supplier photo to Amazon-ready guide walks through the Amazon version.
Frequently Asked Questions
How can I make my product photos look more professional? Work through seven fixes in order: make the photo sharp and large enough, remove the background, correct the light, match the color across your catalog, add a soft shadow, and crop and export every image the same way. The seventh, adding more angles, needs a camera. The first six work on photos you already have.
Can AI improve low-quality product photos? Yes, for resolution, moderate blur, grain, backgrounds, lighting, and color, because most of that detail is already in the photo. No, for what was never captured: unreadable label text, missing angles, clipped highlights, and badly smeared shots. Check printed text and cut-out edges at full zoom after any AI edit.
What resolution should product photos be? Google Merchant Center requires at least 500 × 500 pixels and recommends images around 1500 × 1500 or larger, with files under 16 MB. Each marketplace sets its own rules on top of that, so check the platform you sell on. Our Shopify and Etsy playbook lists what those two accept.
Do product photos need a white background? It depends on where you sell. Marketplaces often want a pure white main image, while your own store can use any background as long as it's consistent across products. Check your marketplace's current main-image rules before choosing.
What's the fastest way to improve a whole catalog of product photos? Apply one preset to the whole set instead of editing image by image. Run one photo first, check the edges and color, then batch the rest. EnhanceCraft's bulk mode handles 25 to 500 images per job, depending on your plan.
Is it okay to edit product photos with AI? Editing how a photo looks, such as its sharpness, light, background, and color consistency, is ordinary retouching. Changing the product itself, such as its color, shape, or features, is misleading and invites returns and policy trouble. Some marketplaces also have rules about AI-generated images, so check them before generating anything that didn't exist.
Start With the One Thing You Noticed First
Put your photo next to the best one in your category at thumbnail size, find what jumps out, and fix just that. Then do the next one. Six of the seven fixes work on photos you already have, which means you can improve a whole catalog this week without a reshoot.
Try the free product photo editor with 25 credits to start, then 10 every month, no card required. You can also see the full e-commerce workflow or the wider AI image toolkit.
Found this helpful?
Share it with your network
Ready to try it yourself?
25 free credits to start, then 10 every month. No credit card. Process your first image in under 15 seconds.
Try Product Photo Editor freeMunib Ali Laghari
Founder & Lead Developer · EnhanceCraft
Munib Ali Laghari is the founder and lead developer of EnhanceCraft, an AI image toolkit. He writes about AI upscaling, photo restoration, and background removal. Connect on LinkedIn