AI Dehaze: Cut Through Haze and Fog for Crystal-Clear Outdoor Photos in 2026
Haze isn’t blur or noise — it’s scattered light veiling your photo. Learn how AI dehazing restores contrast and color in drone, landscape, and listing shots.
Munib Ali Laghari
Founder & Lead Developer
Quick answer
How do you remove haze and fog from a photo?
Run it through an AI dehazer: the AI estimates how thick the haze is in each region of the frame, removes that veil in proportion, and rebuilds the contrast and color the atmosphere washed out. EnhanceCraft’s dehaze tool does this in under 30 seconds — set the intensity for light haze or heavy fog and download the clear result.
Before
After
# AI Dehaze: Cut Through Haze and Fog for Crystal-Clear Outdoor Photos in 2026
The shot looked perfect on the drone's preview screen. Back on the laptop it's milk: the coastline has gone grey-blue, the buildings have no edges, and the color you flew out there to capture is missing. Nothing is out of focus. There's no grain. The photo is veiled — and no amount of sharpening or saturation will pull that veil off.
The veil is atmospheric haze, and it has a specific fix. This tutorial covers what haze actually is (and why it isn't blur or noise), why the dehaze sliders in traditional editors only get you halfway, how to remove haze from a photo online in three steps, and where dehazing belongs in a full outdoor workflow — whether you're editing drone shots, landscapes, travel photos, or listing exteriors.
What Haze Actually Is (and Why It Isn't Blur or Noise)
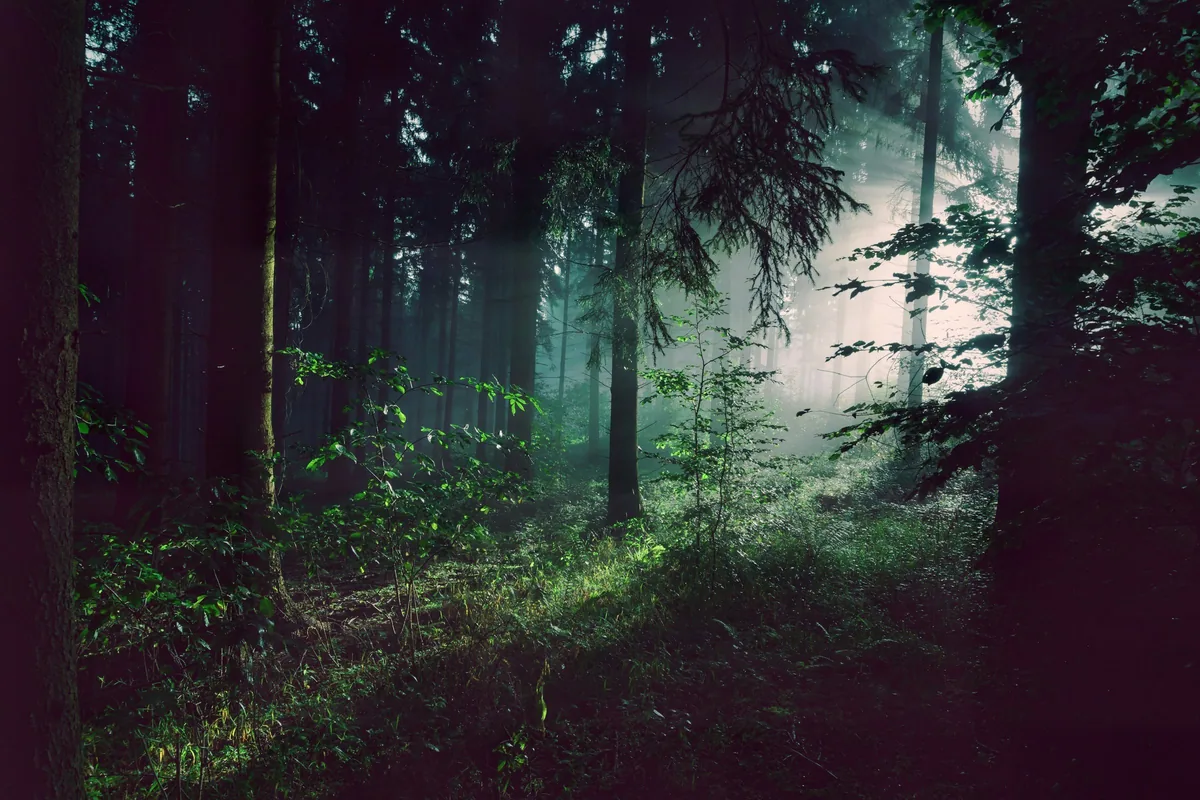
Haze is scattered light. Water vapor, dust, and pollution particles floating between your camera and the subject bounce ambient light into the lens, laying a bright, low-contrast veil over the scene. The more air between you and the subject, the thicker the veil — which is why horizons wash out first while the foreground stays fine.
Optically, two things happen at once. Light traveling from the subject to your camera gets scattered away, so colors arrive dim and desaturated. At the same time, stray light gets scattered *in*, lifting the blacks and compressing contrast across the frame. The combination produces that unmistakable milky look: pale, flat, and blue-grey in the distance.
The detail that matters most: haze depends on distance. A ridge ten kilometers away sits behind far more scattering air than a tree in the foreground, so haze is never a uniform filter over the photo — it's a gradient that follows the depth of the scene. That one fact explains why the traditional fixes fall short, and why the AI fix works.
It's also worth separating haze from the two problems it gets confused with, because each needs a different tool:
| Problem | What it looks like | What causes it | The fix |
|---|---|---|---|
| **Haze** | Milky, washed-out, low contrast; distant objects fade to grey-blue | Light scattering off particles in the air | AI dehaze |
| **Noise** | Speckled grain across the frame, worst in shadows | High ISO, small sensors, dim light | [AI denoising](/blog/ai-image-denoise-enhancement-guide) |
| **Blur** | Soft or smeared edges, double outlines | Missed focus or camera movement | [AI deblurring](/blog/ai-image-deblurring-guide) |
Run the wrong tool and nothing improves: a denoiser finds no grain in a hazy photo, and a sharpener makes veiled edges harsher without restoring the contrast underneath.
Why Dehaze Sliders and Filters Only Get You Halfway
The dehaze slider in a traditional editor applies one global contrast-and-saturation push to the entire frame. But haze thickens with distance, so a single global correction is always wrong somewhere: push it hard enough to clear the horizon and the already-clear foreground gets crushed, the sky turns electric, and dark halos appear along ridgelines and rooflines. Back it off to protect the foreground, and the distance stays milky.
The classic *prevention* is a polarizing filter, which cuts scattered light before it reaches the sensor. It genuinely works — but only at capture time, only at certain angles to the sun, and never on the folder of photos you've already shot.
AI dehazing treats haze as what it is: a depth-dependent veil. Instead of applying one number to the whole image, the AI estimates how much haze covers each region of the frame, subtracts the veil in proportion, and reconstructs the contrast and color the atmosphere attenuated. The clear foreground is left alone; the buried ridgeline gets the strongest recovery. Because the correction follows the haze, the halos, crushed shadows, and radioactive skies of the global slider simply don't appear.
That region-aware correction is what the dehaze tool in EnhanceCraft's AI image toolkit runs — in the browser, with a single intensity control on top so you can match the strength to the conditions.
How to Remove Haze from a Photo Online (3 Steps)
Removing haze takes under a minute: upload the photo, match the intensity to the haze, and download the corrected result. The free AI photo dehazer processes two images a day with no account and nothing to install.
- 1.Upload your hazy photo. JPG, PNG, or WebP up to 10 MB — a drone shot, a landscape, a cityscape, or a property exterior. Everything runs in the browser.
- 2.Set the dehaze intensity. This is the one decision that matters. Keep it low for light morning haze and mild atmospheric murk; raise it for heavy fog or thick summer air. You can preview and re-run until the scene reads clear but real.
- 3.Download the result. Processing averages under 30 seconds. Save as PNG to preserve every bit of recovered detail — recompressing to JPEG can eat the subtle gradients the dehaze just restored.
In the full app, dehazing costs 2 credits per image, and a free account includes 25 credits every month — enough for a dozen dehazes — with the watermark removed and no card required.
How to Keep a Dehazed Photo Looking Natural
A well-dehazed photo should look like the same scene on a clear day — not a punchier version of the hazy one. Getting there comes down to restraint with a single control: match the intensity to the haze that's actually in the shot.
- ●Don't max the slider by default. Light haze needs a light touch. At maximum strength on a mildly hazy frame, the correction stops reading as weather and starts reading as a graphics filter.
- ●Leave landscapes a little atmosphere. Distant hills looking slightly paler than near ones is *atmospheric perspective* — a depth cue your eye expects. Strip every trace of it and a grand vista can flatten into something that looks like a scale model. Clearing most of the veil while keeping a whisper of depth haze reads as professional; total sterile removal reads as processed.
- ●Check the sky and the shadows. The sky is where over-correction shows first — banding or an unnaturally deep blue — and the shadows are where crushed blacks show. If either looks off, step the intensity down and re-run.
When we built the intensity control, the most common mistake in our own test batches was running everything at maximum. The horizons cleared, but the frames stopped reading as *distance* at all. The results that looked professional rather than processed almost always came from the middle of the range.
Where Dehaze Belongs in Your Editing Workflow
Dehaze first. Haze destroys the local contrast that every other enhancement depends on, so remove it before you upscale, replace a sky, or grade color — the cleaner the input, the more every later step has to work with.
- ●Before upscaling. An upscaler reconstructs detail from the contrast and edges in the image you feed it. Feed it a veiled image and you get a larger veiled image. Dehaze → upscale is the right order every time.
- ●Real-estate exteriors. Humid or overcast days leave listing exteriors looking murky in a way buyers register instantly, even if they can't name it. Dehaze the shot so rooflines and distant detail come back crisp, then replace a blown-out sky if you need one, and consider a day-to-dusk twilight conversion for the gallery hero. The free real-estate photo editor collects these exterior fixes in one place.
- ●Drone and travel sets. Aerials almost always pick up haze at altitude — that's physics, not pilot error. Dehaze first, denoise if the flight ran high ISO in fading light, then upscale for print or client delivery.
When Dehaze Won't Help
Dehazing recovers scenes that are veiled — it can't recover scenes that were never captured. Four cases where it isn't the answer:
- ●Fully opaque fog. If the fog is dense enough that the subject is a silhouette or missing entirely, there's no detail behind the veil to restore.
- ●Soft focus or motion blur. That's a geometry problem, not a scattering problem — use deblurring instead.
- ●Grain and speckle. That's sensor noise — use denoising.
- ●Already-clear photos. On a crisp indoor shot, a dehazer has nothing to do; other enhancements will move the needle more.
If you're not sure which problem you have, the table in the first section is the fastest diagnostic: milky and distance-dependent is haze, speckled is noise, smeared is blur.
From Milky to Crystal-Clear
Haze is the most fixable "ruined shoot" in outdoor photography. The detail you thought you lost is usually still in the file, sitting behind a veil of scattered light — and a region-aware AI correction peels that veil off in seconds, without the halos and cartoon skies of the old global sliders.
Try the free AI photo dehazer — two images a day free with no sign-up, or create a free account for 25 monthly credits and watermark-free results, no card required. Upload the milkiest shot in the folder first; that's the one that will sell you on the difference.
Found this helpful?
Share it with your network
Ready to try it yourself?
25 free credits every month. No credit card. Process your first image in under 15 seconds.
Try Photo Dehazer freeMunib Ali Laghari
Founder & Lead Developer · EnhanceCraft
Munib Ali Laghari is the founder and lead developer of EnhanceCraft, an AI image toolkit. He writes about AI upscaling, photo restoration, and background removal. Connect on LinkedIn